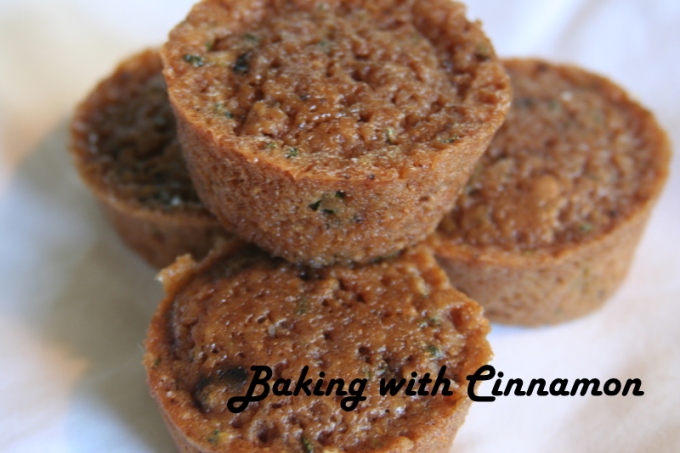
- Coating the ice cream bonbons in melted chocolate is the messiest — and most entertaining — part of making bonbons.
Completing homemade bonbons is pretty simple — but does take a good amount of time. Allow a minimum of four hours to finish the process.
Wet Team:
- 1/4 cup vegetable shortening
- Chocolate for melting (We used the nearly all of the dark chocolate Pound Plus from Trader Joes and half of the milk chocolate, so, a lot. Use white chocolate, milk, dark, semisweet, bittersweet — or a combination, like we did! The ratio was about 2:1, as we used twice as much dark than milk chocolate.)
- Ice cream (We used up all the random ice creams in the freezer — chocolate, cookies and cream, coconut, and others. Feel free to use sorbet, rice-based ice cream, coconut-based ice cream or soy-based ice cream.)
Dry Team:
- No dry team!
Hardware:
- Double boiler (two pots, one that fits inside the other)
- Four pie tins
- Two ice packs from your local market. These are given at the meat counter to those getting volatile and temperature sensitive meats. I accumulated some at my local Whole Foods when I bought some lox and was concerned about the heat ruining it. If you can’t find a good ice pack, then make one! Two days before attempting the bonbons, fill two gallon sized zip top bags with ice and a bit of water. Stick in freezer. You just made ice packs!
- Two spoons for dipping the ice cream into melted chocolate
- Wooden spoon for stirring melting chocolate
- Knife and cutting board for chopping chocolate
- Ice cream scooper
- Freezer safe tupperwear and wax paper for storage — if there’s any left!!

Hardware needed for bonbons

- Hardware needed for bonbons: cake pan and ice pack
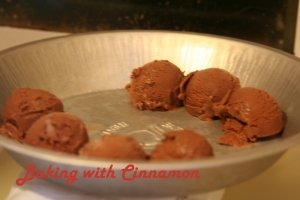
First, place your ice pack on the counter and a pie tin on top of it. Using your ice cream scoop, get a ball of ice cream and release it onto the pie tin, aiming for a place directly above the ice pack to keep the ice cream as cold as possible during the scooping step.
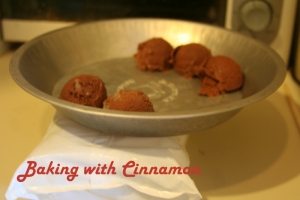
- Prepping ice cream for bonbons
- Make sure your pie tin is on the ice pack or the ice cream will start to melt.
Now, repeat! Scoop all the ice cream you want to turn into bonbons into the cold pie tins. Once a pie tin is full, quickly move it to the freezer to help the balls stay shaped.
- Butterscotch ice cream waiting to be made into bonbons!
And now, you wait. While you are waiting, you can prep your other bonbon needs. Start off by chopping the chocolate for the coating. You can see the ratio of dark:milk chocolate in the photo below. Choose any ratio that sounds good to you, but make sure to chop more than you think you need so that all the ice cream balls get properly covered.
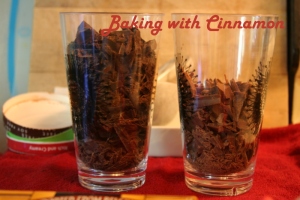
Milk and dark chocolate for tempering
So, you’ve waited. And waited. And waited. Can you pull them out yet?
Well, has it been two hours? No? Go talk a walk and stall for time.
Oh, it has been two hours? Great! Let’s do this.
Turn on the heat of your double boiler (remember to have water in the lower pot). Once the water is simmering, add the shortening.Stir with your wooden spoon until melted and begin to add the chocolate. Remember, if you’ve separated your chocolate like we did, add some of each type to the pot. (Unless, of course, you want to do some entirely milk chocolate bonbons and some entirely dark chocolate bonbons.)
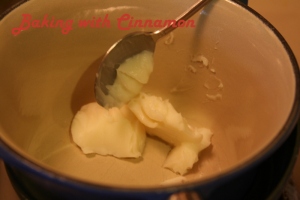
Melting butter for chocolate tempering
After the shortening is melted, add half of the total chocoalte to the double boiler.

Tempering chocolate
This is a tricky part. Tempering (melting) chocolate is very subtle and volatile process. Do not leave this unattended or you may come back to a scorched chocolate covered pot! Ack! Don’t go watch a show, don’t let the kitties distract you too much, but try to stay at the stove, stirring the chocolate and shortening. At first, it won’t look like it is melting, but it is. Just give it a few minutes of your time and you will be rewarded with a shiny, delicious and non-cracking shell for your bonbons.

Tempering chocolate for bonbons
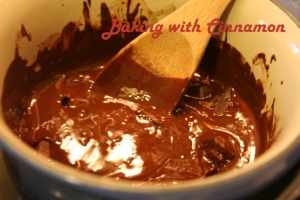
Tempered chocolate!
This would be a great time to set up your area — get an ice pack out of the freezer and set it to one side of the tempering chocolate. On the other side, set the other ice pack (this is where the previously shaped ice cream balls will rest until covered in chocolate).
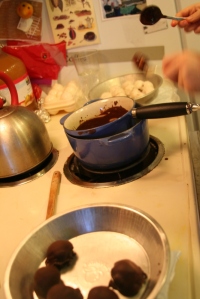
Set up for coating bonbons in tempered chocolate
To get started on covering the ice cream, just kinda scoop one up, and gently place it into the tempered, warm chocolate.

Scooping ice cream into tempered chocolate
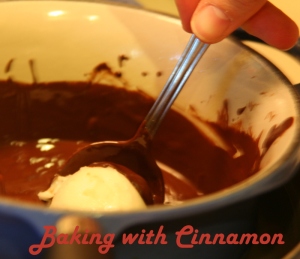
Lower ice cream ball into the melted chocolate
Using one of your two spoons, hold the ice cream ball in place and, with the other spoon, scoop chocolate over the top and along the sides to completely cover the ice cream.
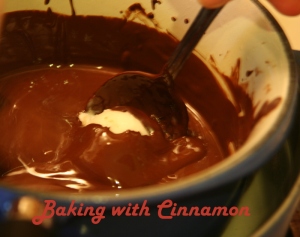
Gently cover the ice cream balls in chocolate
Once you are satisfied with an ice cream ball, carefully lift it out of the chocolate, and, using your other spoon, scoop the ice cream out onto the waiting cool and clean pie tin.

Gently lift the chocolate covered ice cream
I would not recommend sliding the coated balls out of your spoon and onto the pie tin, instead, use your other spoon to guide the delicate thing. As your spoon will already be coated in melted chocolate, the bottom of your bonbon could loose a layer of chocolate if you just let it slide. Gravity is not a friend in this case.
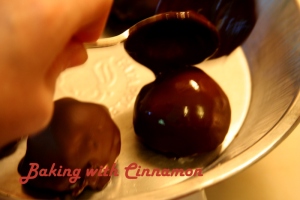
Place the coated ice cream balls onto a clean (but cold) pie tin
As soon as you’ve filled a pie tin with as many bonbons as you can fit, stick ’em in the freezer again. Yes, again. We need to wait for the chocolate to set. But don’t fret! Soon, you’ll be eating your lovely ice cream creations! Stall around for two hours.
Once the bonbons have set (yay!) you can transfer them to a tupperwear. Layer ’em in it with wax paper in between the rows. The picture below is from several days after the making, and, as you can see, one of the bonbons was stabbed by someone (ahem) trying to determine the flavor of ice cream inside.
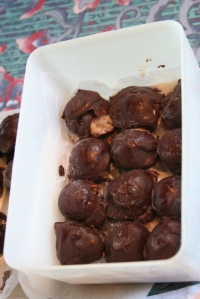
Storing bonbons is easy -- tupperwear + wax paper is all you need
So! You’re all done! Eat them, already! And if you have any left, stage ’em on the bottom of a wine glass for pictures
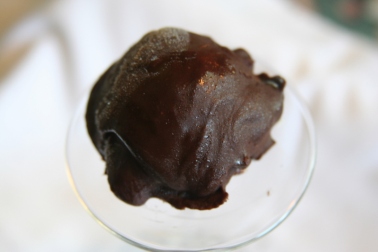 Chocolate coated cookies and cream bonbons!
Chocolate covered chocolate ice cream bonbons! Homemade bonbons! Yay!

- Chocolate covered coconut ice cream bonbon!
And now you have amazing, homemade bonbons! Yum! Since you’ve mastered the process, try making ’em in different flavors of ice cream!
